Enable news publishing on an EPiServer ETF website
17 minutes
Note: This post is a follow-up to Creating a blank EPiServer website based on ETF. This post assumes you have a blank EPiServer website with ETF set up.
1. Create page types
In order to properly publish news on our website we need a few page types:
- Start page
- Article
- Article list by date
- Article list by tag
- Generic container page
Create the ArticlePage page type
The ArticlePage page type will be used to publish the actual news articles. Since this post is based on a blank EPiServer site that hasn’t been converted to a Web Application Project in Visual Studio we’ll place our page type class files in the App_Code folder. First we create a new class file named ArticlePage.cs:
We edit it and add a PageType attribute and make sure the class inherits the ArticlePageBase base class in ETF. We also set the Filename property to specify a page template to use for rendering pages of this type (we’ll create the templates in a minute):
using PageTypeBuilder;
using TemplateFoundation.PageTypes;

[PageType(
    Name = "Article",
    Description = "Used to publish news articles on the website",
    Filename = "/Templates/Pages/ArticlePageTemplate.aspx")]
public class ArticlePage : ArticlePageBase
{

}
Create the ArticleDateListingPage page type
The ArticleDateListingPage page type will be our main news container, and will also be used for year and month “folders”.
So, we create another class file called ArticleDateListingPage:
We edit it in the same way as ArticlePage, except this time we will inherit ArticleDateListingPageBase and use a page template for listing articles:
using PageTypeBuilder;
using TemplateFoundation.PageTypes;

[PageType(
    Name = "Article Listing",
    Description = "Used for listing articles based on their publish date",
    Filename = "/Templates/Pages/ArticleListingPageTemplate.aspx")]
public class ArticleListingPage : ArticleDateListingPageBase
{

}
Create the ArticleTagListingPage page type
The ArticleTagListingPage page type will be used to list articles that have been tagged with a specific tag.
We create a new page type class and make it inherit ArticleTagListingPageBase:
using PageTypeBuilder;
using TemplateFoundation.PageTypes;

[PageType(
    Name = "Article Listing by Tag",
    Description = "Used for listing articles based tags",
    Filename = "/Templates/Pages/ArticleListingPageTemplate.aspx")]
public class ArticleTagListingPage : ArticleTagListingPageBase
{

}
Note that we have set the Filename attribute parameter to the same page template as we use for the ArticleDateListingPage.
Create the StartPage page type
Create yet another class and name it StartPage. Edit it and ensure it inherits the StartPageBase base class in ETF:
using PageTypeBuilder;
using TemplateFoundation.PageTypes;

[PageType(
    Name = "Start Page",
    Description = "The main start of the website",
    Filename = "/Templates/Pages/StartPageTemplate.aspx")]
public class StartPage : StartPageBase
{

}
Create the ContainerPage page type
Let’s create a basic container page type inheriting PageTypeBase without any associated page template – it will only be used for grouping pages in the content tree.
using PageTypeBuilder;
using TemplateFoundation.PageTypes;

[PageType(Name = "Container")]
public class ContainerPage : PageTypeBase
{

}
2. Create Master page
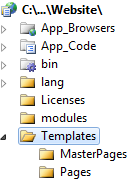
For this demo we’ll create a folder structure similar to that of the “Public Templates” package, but you’re obviously free to use whatever folder structure you prefer:
Let’s create a new Master page in the MasterPages folder:
We’ll leave the markup as-is, but we want to make sure the Master page inherits MasterPageBase:
using TemplateFoundation.MasterPages;

public partial class Templates_MasterPages_MasterPage : MasterPageBase
{

}
3. Create page templates
We’ll create one page template for our news articles and one for the article listings page.
Create the ArticlePageTemplate page template
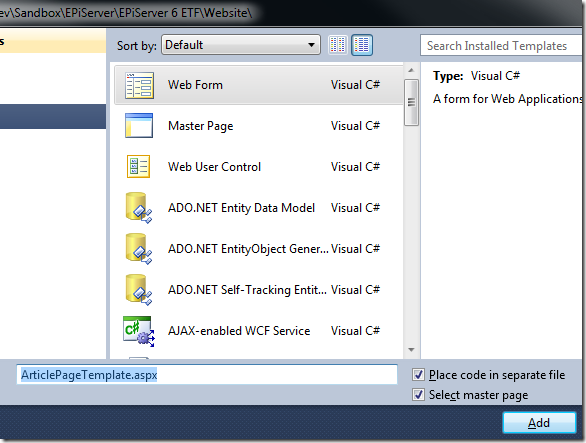
Create a new web form in the Pages folder and call it ArticlePageTemplate.aspx – and make sure it inherits the Master page we created earlier (check the Select master page option in the Add New Item dialog):
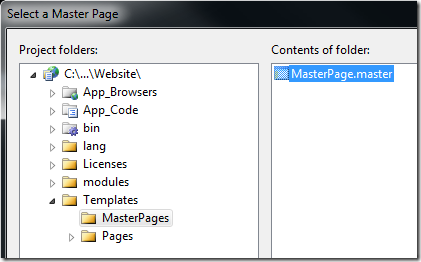
Select the Master page we created before…
Next, let’s add some HTML to our ArticlePageTemplate.aspx file’s content placeholder so that we can present news articles in some way:
<ETF:Property PropertyName="Title" ContainerElement="h1" ContainerCssClass="main-title" runat="server" />

<ETF:Property PropertyName="StartPublish" ContainerElement="p" ContainerCssClass="date" DateFormat="d MMMM HH:mm" runat="server" />

<ETF:Property PropertyName="MainBody" runat="server" />
Next, let’s open our page template’s code-behind file and modify it slightly to inherit the ETF base class TemplatePageBase:
using TemplateFoundation.PageTemplates;

public partial class Templates_Pages_ArticlePageTemplate : PageTemplateBase<ArticlePage>
{

}
Create the ArticleListingPageTemplate page template
Create a new web form called ArticleListingPageTemplate.aspx in the same folder as before, inheriting the same Master page.
Next, edit the page template’s code-behind file to make the page template inherit the ETF base class for templates, typed after the base class we use for article listings (this is what makes it possible for us to easily re-use the same page template for both types of article listings):
using TemplateFoundation.PageTemplates;

public partial class Templates_Pages_ArticleListingPageTemplate : PageTemplateBase<ArticleListingPageBase>
{

}
Next, let’s add some HTML to the main content placeholder to create a simple news list:
<h1><%= CurrentPage.Title %></h1>

<EPiServer:NewsList DataSource="<%# CurrentPage.Articles %>" runat="server">

    <FirstNewsTemplate>
        <ETF:Property PropertyName="PageStartPublish" ContainerElement="strong" runat="server" />
        <ETF:Property PropertyName="Title" ContainerElement="h2" runat="server" />
    </FirstNewsTemplate>

    <NewsTemplate>
        <p>
            <ETF:Property PropertyName="PageStartPublish" ContainerElement="span" ContainerCssClass="date" runat="server" />
            <ETF:Property PropertyName="PageLink" runat="server" />
        </p>
    </NewsTemplate>

</EPiServer:NewsList>
Create the StartPageTemplate page template
Let’s create an insanely basic start page template by adding another web form and naming it StartPageTemplate.aspx. As with the other page templates we make it inherit the PageTemplateBase class:
using TemplateFoundation.PageTemplates;

public partial class Templates_Pages_StartPageTemplate : PageTemplateBase<StartPage>
{

}
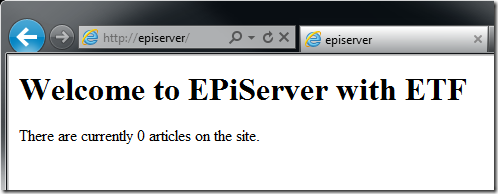
Let’s add some HTML to it which will welcome the user and let the user know how many articles we have on the site:
<h1>Welcome to <%= EPiServer.Configuration.Settings.Instance.SiteDisplayName %></h1>

<p>
    There are currently <%= TemplateFoundation.Core.PageFactory.Instance.GetArticles().Count %> articles on the site.
</p>
4. Create basic content for the site
Create a start page
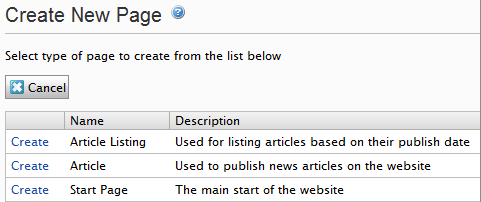
Login to EPiServer and create a new page based on our newly created “Start Page” type.
Create a news page
Next, create another page underneath the start page using the “Article Listing” page type.
Create a container page for tags
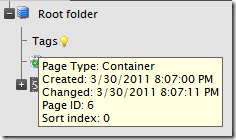
Create a container page called “Tags” under the Root page in the content tree – it will not be part of the user-navigated content structure of the site:
Set start page ID in episerver.config
Now that we have our start page we set the pageStartId attribute on the <siteSettings> element in episerver.config:
5. Set basic site settings
Next, edit the start page to set some basic settings on the “Site settings” tab.
Set the “News container” property to the news page you created earlier:
Next, configure ETF to use the “Article Listing” page type for date folders:
We set the page type for articles to “Article”:
Next we set our tags container to the container page we created:
We set the page type for tags to the tag listing page type we created:
6. Browse to the site
We should now be able to see our less-than-stellar-looking start page:
7. Publish an article through EPiServer
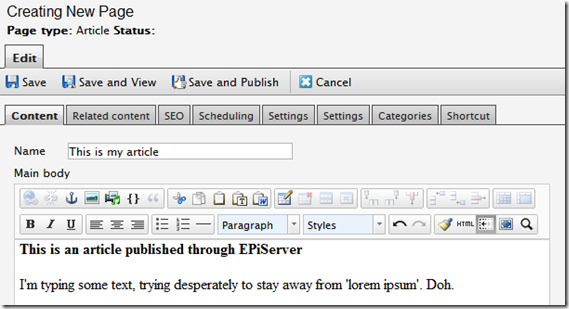
First, create a new “Article” under the “News” page:
Enter a name and article content…
…and go to the “Related content” tab and add some tags:
Now hit Save and publish to see the result
Note that if we want to set the Author property we have to create a page type inheriting ContactPageBase or PersonPageBase and set the related site settings. The Author property’s dropdown is automatically populated based on the site’s contact pages, but more on that in a later post.
Looking at our published news article
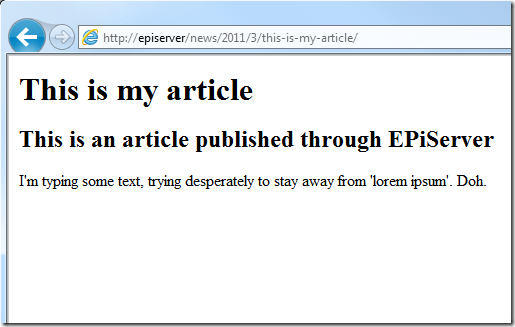
First of all we can see that our not-so-pretty article page template does what we told it to do:
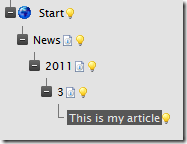
We can also see that we’ve gotten nice lower-case date folder structured URLs, which is also reflected in the page tree.
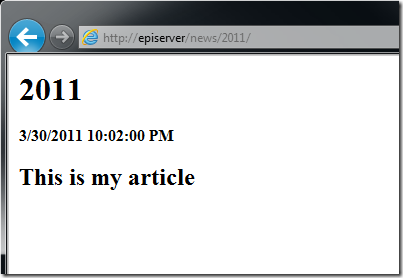
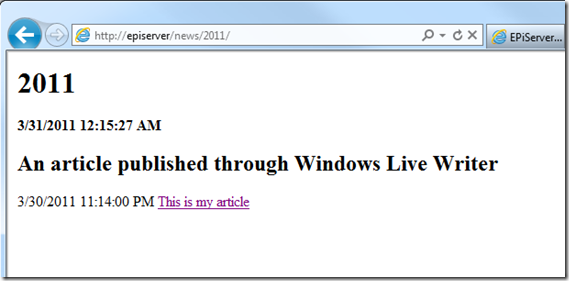
If we browse to a year folder we’ll see a list of articles published in that year…
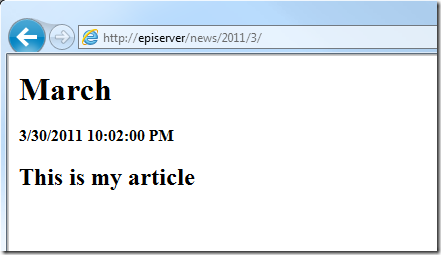
…and of course the same goes for month folders (notice how the page’s Title property now returns the name of the month):
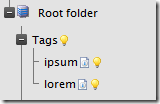
The two tags we added have each been added as individual pages under the tags container we specified earlier:
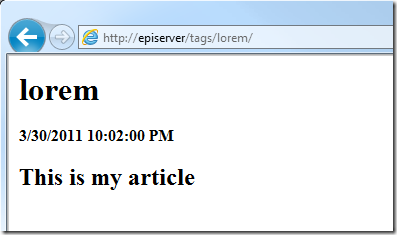
If we browse to any of those tag pages we’ll see a list of articles tagged with each individual tag (even if the list is very short so far):
Note that this is the same page template as we use for year and month folders, and we don’t have to do anything except bind some sort of list control to the page’s Articles property. Also note that the Title property now returns the tag name.
8. Publish an article through Windows Live Writer
ETF supports publishing to EPiServer through the MetaWeblog XML-RPC interface, meaning you can use applications such as Windows Live Writer to publish posts (news articles) and pages (standard pages) to your EPiServer site.
Add your site to Windows Live Writer
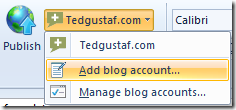
Click Add blog account to add your EPiServer site:
Select Other services as your blog service:
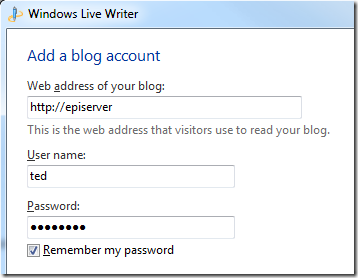
Enter the URL of your website and your EPiServer username and password:
After a brief progress bar you’ll be able to set a name for your site:
You should now see the name you chose in Windows Live Writer…
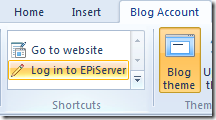
…and if you switch to the Blog Account tab you can see direct links to the site’s start page as well as to the EPiServer login form:
Publish an article to EPiServer through Windows Live Writer
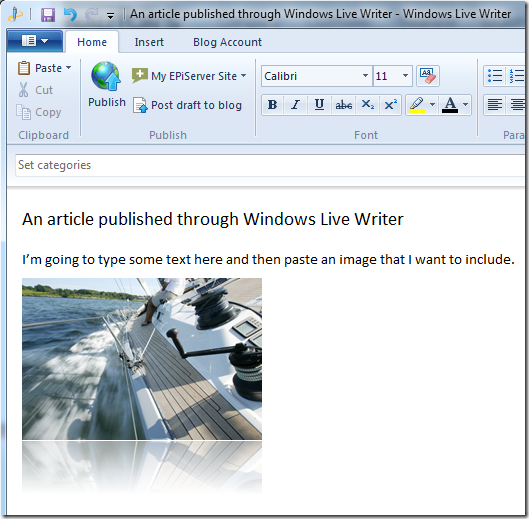
Let’s enter a title and some content (don’t forget to simply paste an image into the content, it’s a great feeling!):
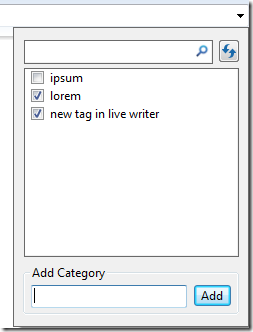
If you click the Categories dropdown you’ll see the tags we added earlier. We can also add new tags:
Finally, let’s publish the post to see how it works:
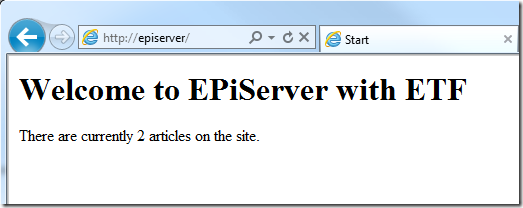
This should bring up the site’s start page (ETF currently doesn’t support redirecting to the newly published post). Note that the start page should now say that we have 2 articles published:
If we browse to one of our news listings we’ll be able to see both of our articles (with the older one being bumped to second place):
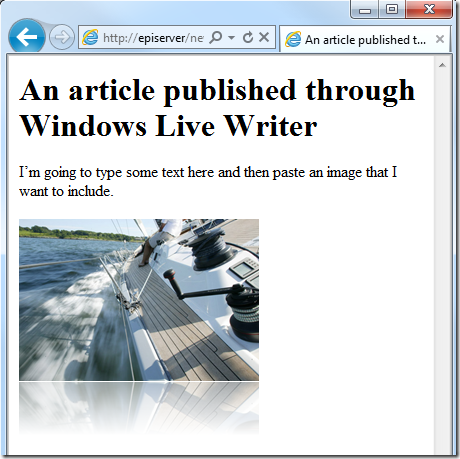
If we browse to the actual article we’ll see that the image we included has been uploaded properly and included on the page:
If we go into edit mode we’ll see our newly created article underneath the correct date folder:
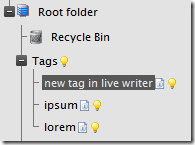
And, if we look in the “Tags” container we can see the new tag we created inside Windows Live Writer:
That’s it!
Feel free to post any comments, suggestions, or questions in the comments below, on Twitter, or on Facebook (Swedish only).






![image_thumb2[1] image_thumb2[1]](/contentassets/49272c9d45d34e139f22d31408356e80/windows-live-writer-5896b77a0b23_d56-image_thumb21_thumb3.png)



![image_thumb141[1] image_thumb141[1]](/contentassets/49272c9d45d34e139f22d31408356e80/windows-live-writer-5896b77a0b23_d56-image_thumb1411_thumb4.png)
