Install WordPress on Windows 7 and SQL Server
9 minutes
Install Web Application Installer
Download and install Microsoft Web Platform Installer, it makes it a lot easier to download and install applications and tools for web development.
Install Internet Information Services
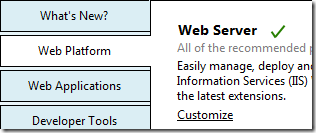
If you do not already have IIS (the web server) installed, open Web Platform Installer and install it from the Web Platform tab. Click Customize under Web Server and ensure Internet Information Services and IIS Manager are checked:
Install SQL Server 2008 Express
In Web Platform Installer, click the Web Platform tab. Click Customize under the Database option and ensure the following are selected:
- Microsoft Drivers for PHP for SQL Server
- SQL Server Express
- SQL Server Express Management Studio
Click Install to proceed, this will download and install the selected components. Since I already had SQL Server 2008 installed on my machine I only needed to add the PHP drivers:
Install WordPress dependencies
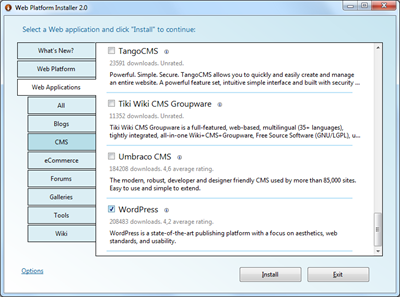
In Web Platform Installer, go to the Web Applications tab, then click the CMS tab and select WordPress:
When you click Install you’re prompted to access license agreements for WordPress and any dependency componenents required that you do not already have installed.
Such dependency components include:
- PHP (including the PHP manager for IIS)
- CGI
- URL Rewrite
- MySQL (optional)
At this prompt you’re also able to remove any dependency components you don’t want to install. We actually want to install the dependencies only!
We click the remove icon for MySQL Windows Essential to exclude it from our install (since we’ll be running WordPress on Microsoft SQL Server Express instead).
We do the same for the WordPress option (!) since Web Platform Installer doesn’t support installing WordPress on SQL Server:
When you’re done, click Install to install the components. You’ll be prompted to accept relevant license agreements.
Download WordPress
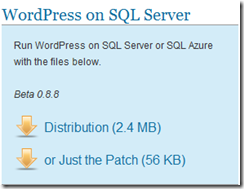
Head over to http://wordpress.visitmix.com/download and click the Distribution download link (I haven’t tried applying the patch to an existing WordPress site):
This will download a ZIP file containing a build of WordPress customized for SQL Server. At the time of writing this is a Beta version of WordPress 2.9.2: ![]()
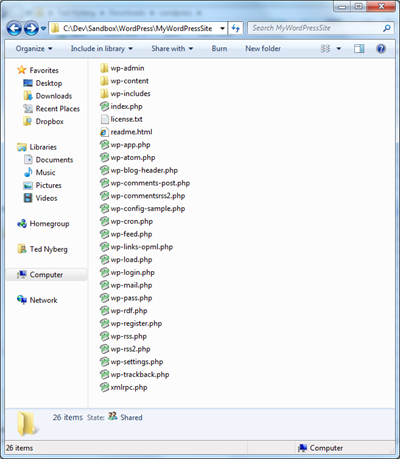
Extract the contents of the wordpress folder inside the ZIP file to a location where you want your website files:
Set folder permissions
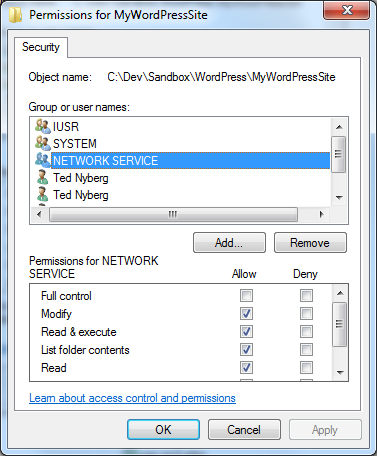
Right-click the folder where you unzipped the WordPress files, select Properties and then go to the Security tab and click Edit to give Modify permission for the NETWORK SERVICE and IUSR accounts:
Setup website in IIS
Open Internet Information Services (IIS) Manager. Next, create a new application pool by right-clicking the Application Pools node:
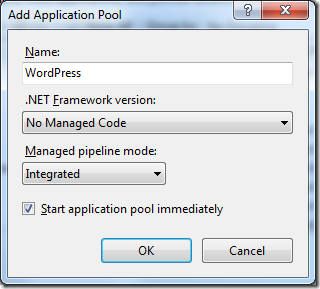
We’ll name the application pool ‘WordPress’ and set the .NET Framework version option to “No Managed Code” since WordPress is run on PHP:
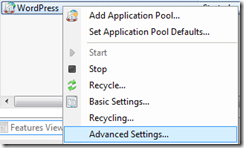
Next we right-click our new application pool and select Advanced Settings…
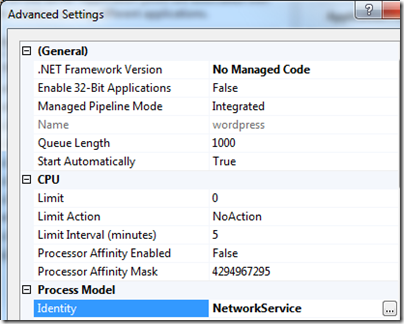
…and change the Identity setting to NetworkService in order to have our WordPress site use the ‘NETWORK SERVICE’ account to access the file system:
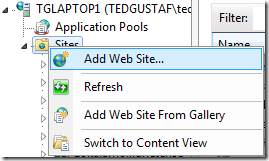
Next we create a new IIS instance for our WordPress website:
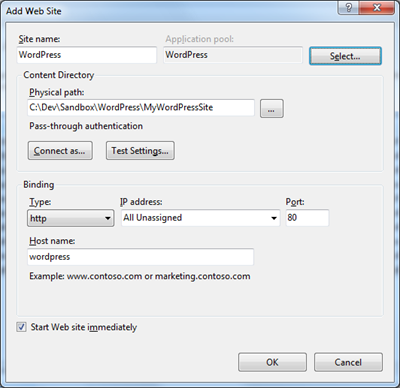
We’ll name the website ‘WordPress’ (catchy, huh?) and set the Application pool to the ‘WordPress’ application pool we created earlier. We’ll also specify the Physical path to the folder where we unzipped the WordPress files and set the Host name to something suitable. How about “wordpress”?
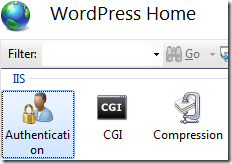
Click OK and then ensure the ‘WordPress’ site is selected in the left pane. Next, click the Authentication option…
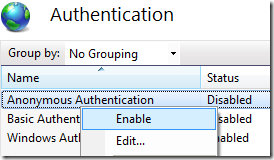
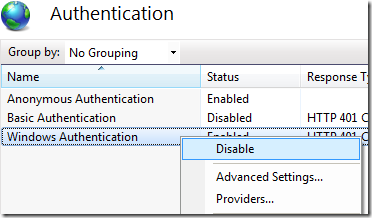
…and enable Anonymous Authentication:
Also, go ahead and disable Windows authentication:
Configure host name if other than ‘localhost’
If you set the Host name to anything other than “localhost” you also need to add the host name to your hosts file in Windows, typically located at C:\Windows\system32\drivers\etc\hosts. Note that you need administrator privileges to be able to edit the host file. Open it with Notepad or similar text editor and add a new entry for the host name you chose (simply “wordpress” in our case) and map it to the loopback IP address:
Create a new database
Open up SQL Management Studio and create a new database for the WordPress site:
Once again we name it – you guessed it – “WordPress”! :)
Create a database user
Inside SQL Management Studio, open the Security node and right-click the Logins node and select New Login:
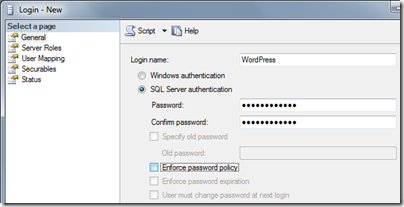
Give it a name (how about “WordPress”?), set a suitable password, and uncheck the Enforce password policy option:
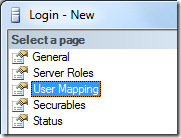
Next, click the User Mapping option in the left pane…
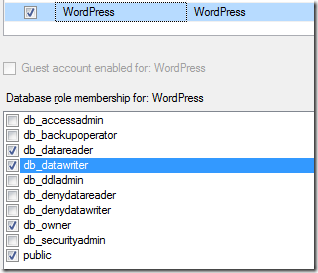
…then select the WordPress database and assign suitable permissions (click OK when you’re done):
Browse to the WordPress site
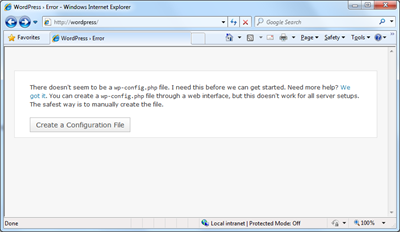
We can now browse to http://wordpress, which will display the following:
Simply click Create a Configuration File to have the required wp-config.php created.
Click Let’s go! on the next page to proceed to the configuration page:
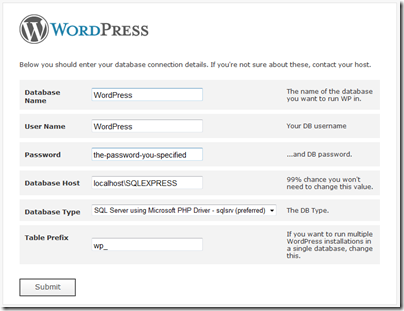
Enter the Database Name of the database we created (“WordPress”), the User Name of the SQL account we created (“WordPress”) and its Password.
Set the Database Host to ‘localhost\SQLEXPRESS’ and leave the Database Type and Table Prefix options unchanged. After clicking Submit you should see the following:
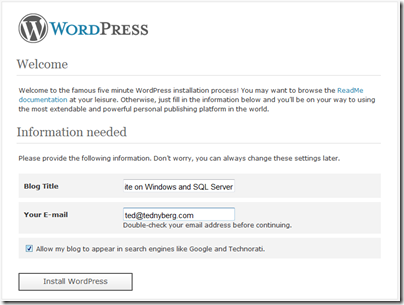
Click Run the install to proceed with the WordPress installation. You’ll be able to specify a Blog Title for the WordPress site as well as Your E-mail address and an option for whether the site should be included in search engines:
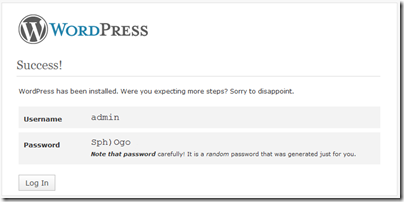
After clicking Install WordPress you’ll see a page which displays a randomly generated administration password for the site:
Copy the password and then click Log In to proceed to the login page where you can use the ‘admin’ user name and the generated password to login to the site:
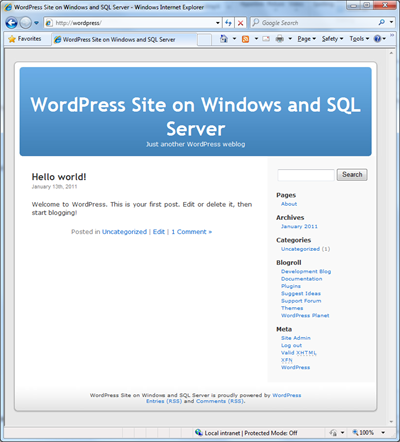
We now have WordPress running on Windows IIS and SQL Server 2008
And here’s the very appropriately named WordPress site:
